
Install 389 Directory Server CentOS
Install 389 Directory Server CentOS
389 Directory server is a wonderful drop-in replacement for OpenLDAP, and is extremely easy to install and configure. A few really important features of 389 directory server is multi-master replication, a unified admin console, password policies, and the capability of sync with Active Directory. This makes 389 directory server a premium choice for Linux Administrators.
Login, and su to root

now enable the EPEL Repo


now install the REMI Repo


edit /etc/hosts to include your hostname/ipaddress
now edit the syscontrol configuration

add lines 44-47

now edit the security limits configuration

add lines 50 and 51 to the end of the configuration file

now edit /etc/profile

add line 79

create a local service account to run 389 as

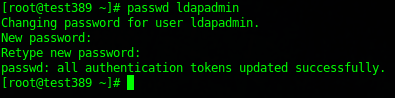
set password
now install the 389 directory server packages

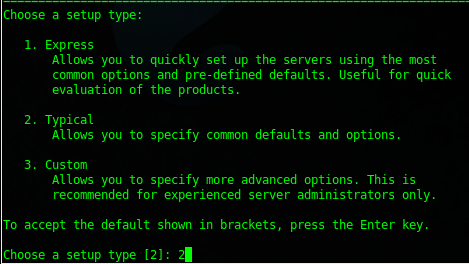
run the installer for 389

choose setup type 2
for the next step type “servername.domain.local” or whatever your scheme is,w e are going with 389.domain.local
set the system user as ldapadmin

fill out as follows
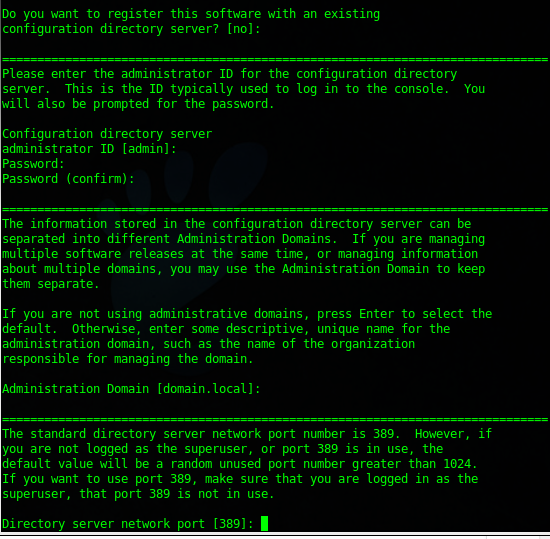
hit yes to setup the server
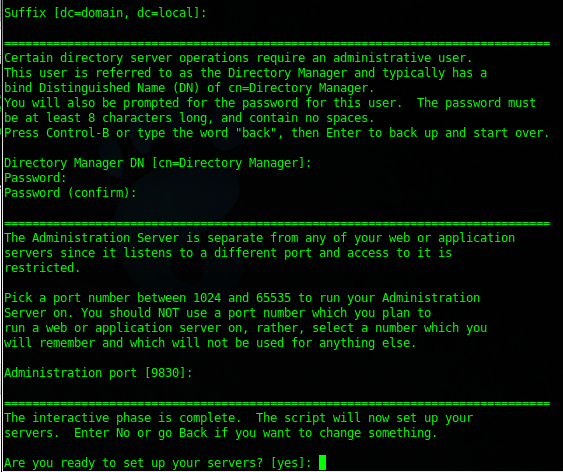
now make sure the necessary services start on startup

now in order to launch the admin console, we need to have X installed (or you can install on a remote server, but for now let’s install on the master LDAP server)

one all 400 or so packages are done installing, reboot
once rebooted, verify that you can launch the 389 console via ssh X Session

you should be prompted with a login screen
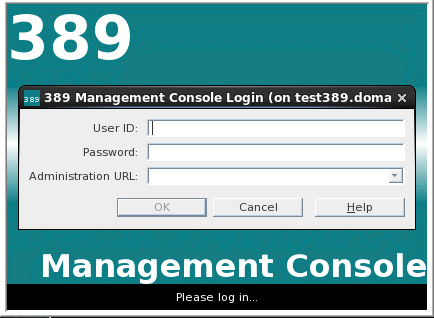
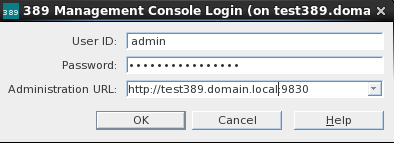
enter your credentials as follows:
here’s the console window
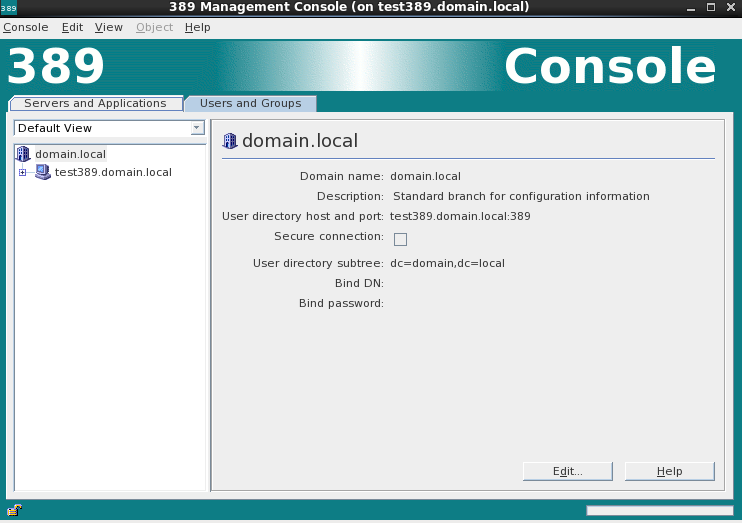
from here you are ready to start adding users/groups to LDAP under “Directory Server” –> Directory –> domain
Here’s a few more steps you may want to know about:
- To Configure MultiMaster Replication click here
- To Join Client to 389 Directory Server click here
- To Sync Active Directory With 389 Directory Server click here
- To Configure TLS/SSL Secure LDAP click here
- To Configure TLS/SSL Client click here
- To Configure a Password Policy/Lockout, click here
- To add the Samba Schema to 389 LDAP click here
- To add the SUDO Schema to 389 LDAP click here
- To add your Automount/Autofs configuration to LDAP click here
- To configure LDAP host access using 389 click here
- To disable Anonymous LDAP Bind, click here
- To Authenticate Windows 7 Against LDAP click here
- To Authenticate Windows 7 using TLS/SSL click here
- To Configure a Samba server to use pGina click here
- To configure your LDAP server as an internal DNS server click here
- To configure yoru LDAP server to use Dynamic DNS click here
- To configure your LDAP server as a DHCP server click here
- To configure your LDAP server as a NTP server click here
That’s it!
Hosted Linux Servers at www.zwiegnet.com/go