
Install Zimbra Community CentOS 6
Install Zimbra Community CentOS 6
Zimbra is an Open Source Alternative to Microsoft Exchange. I have been an advocate for Microsoft Exchange For Years, however, there’s one product, that even the Free Version, Beats or Matches the Features Of Exchange, and costs $0. That’s Pretty hard not to pay attention to. Here’s the Basic Steps to Getting Zimbra Installed:
Let’s Start a new VM/Physical Box Build. For this example I’m Using CentOS 6.5 Minimal Install, because I’m Behind a NAT, you need this step:

the hostname of your Zimbra Server needs to be that of the Public nature, it CANNOT be the internal name, you will run into issues. That being said, set a Static IP, and do the Install as normal. Be aware that zimbra installs in /opt for when you get to the Disk Partitioning Area.
Once you have your VM/Dedicated Box, make sure you disable Iptables, and Ip6tables
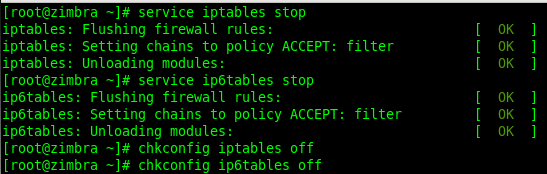
disable SELinux on next reboot
Start by updating all Software Packages, and rebooting afterwards:

install the prerequisites

part 2

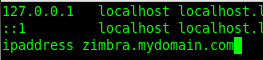
edit your hosts file

enter the necessary info
also disable Postfix, it’s included with the CentOS Default Install

At this point we are going to assume you have your MX records setup properly from the outside, and Internal DNS and routing is setup properly.
Go To the Zimbra Open Source Downloads Page, and
http://www.zimbra.com/downloads/os-downloads.html
Copy the Link Location

cd to opt, and wget the location

once our .tgz is downloaded, we need to extract it

change into the extracted folder

make the installer executable

kick off the installer

accept the agreement, if you agree, both times

you should see the following….
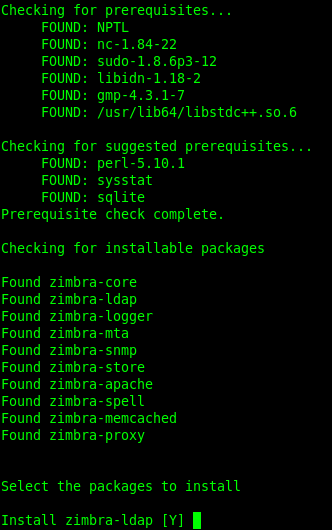
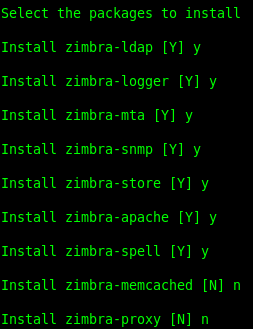
select the following options, and continue
you should see the following error:

Since we are using Internal DNS, and Public DNS you get this error, Zimbra Installer Assumes DNS is Installed and Configured on the Local Machine, enter your Domain Name, ex: domain.com

from here hit no, and proceed

from here the installer will continue
Now as you can see in the defaults, we obviously need to customize a few things….
hit 3

you need to hit number 4 to set the password at a minimum.

here’s a finished example configuration
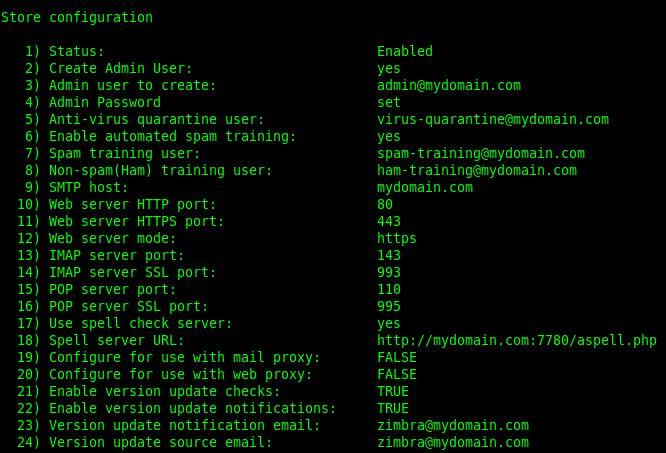
select r, and then hit a when ready to continue
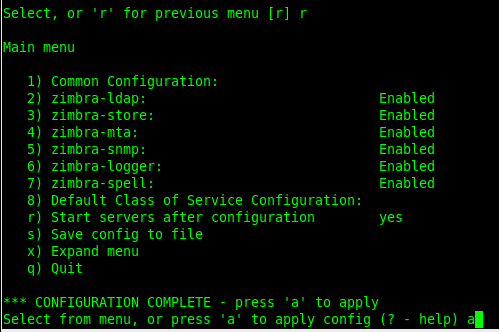
set a few more things….

at this point, let the installer do it’s thing for a while…. This will take a bit
From here we have some firewall config to do, open the following ports:
- 443 – SSL Web Connections
- 143 – IMAP Connections to Receive Email
- 25 – SMTP to Send Email
- 993 – Secure IMAP
- 587 – Secure SMTP/TLS
By the time the firewall config is done, the installer should be complete….
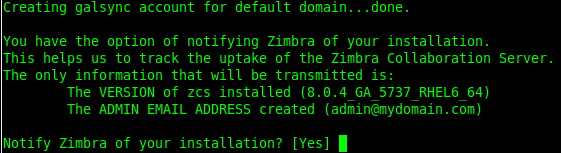
it will ask if you want to notify zimbra of the install, i’ll let you make that decision on your own…
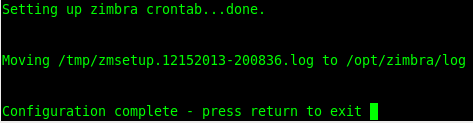
hit return
now wait a few minutes for everything to load into RAM, and browse to https://zimbra.mydomain.com, and you should get a website
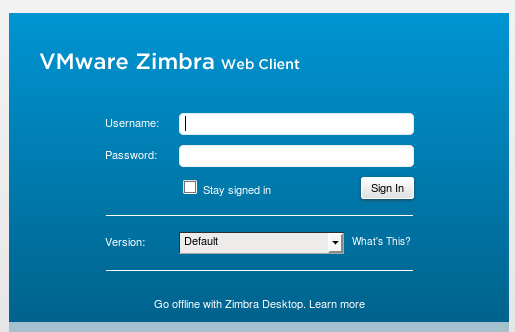
now login to the admin interface:
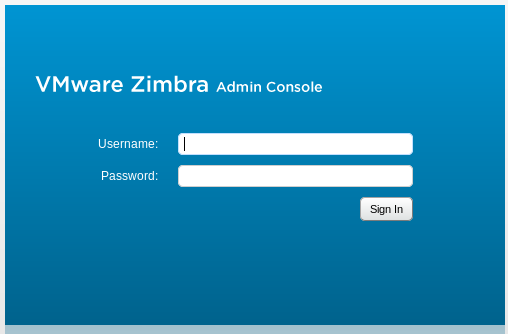
** IF you are running Zimbra behind a NAT, please Click Below, otherwise you will not be able to receive email on Zimbra Communtiy/Open Source Edition ***
http://blog.zwiegnet.com/linux-server/zimbra-not-receiving-email-stuck-in-que/
That’s it!
Hosted Linux Servers at www.zwiegnet.com/go
Related guides: Upgrade Zimbra Community Version CentOS 6 | Restart Zimbra Community Services CentOS 6
3 Comments