
Migrate Zimbra Community to New Server
Migrate Zimbra Community to New Server
** NOT RESPONSIBLE FOR DATA LOSS, BE SMART, MAKE A BACKUP /OPT FIRST **
In this blog we are migrating Zimbra Community to a new server. Let’s go over the minimum requirements one more time:
I’m Behind a NAT, you need this step:
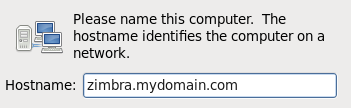
the hostname of your Zimbra Server needs to be that of the Public nature, it CANNOT be the internal name, you will run into issues. That being said, set a Static IP, and do the Install as normal. Be aware that zimbra installs in /opt for when you get to the Disk Partitioning Area.
Once you have your VM/Dedicated Box, make sure you disable Iptables, and Ip6tables, as well as SELinux
Start by updating all Software Packages, and rebooting afterwards:
install the prerequisites
part 2

edit your hosts file

enter the necessary info
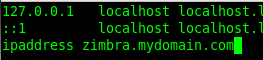
also disable Postfix, it’s included with the CentOS Default Install

this process also requires Rsync to be installed on both servers (if not already)
From here we need to do one of the following:
1) shut-down live Zimbra and rsync -avH /opt/zimbra /mnt/Backup
2) while we wait copy the installer for your present version of Zimbra to the new Server
In our case we have the installer in the /opt/Installers folder, so we are copying that over now

in this case we need to change to the proper folder with the proper version
from here run the installer with the -s option

Install all packages the same as you did on your original Zimbra Server
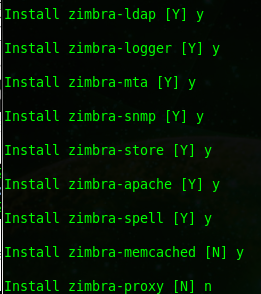
now the new system will be modified, obviously we want to continue

all the original packages will be installed….

perfect, just as expected….
now on the NEW server, rm -rf /opt/zimbra, this removes the dummy copy
from here hopefully your backup has completed, now we need to restore it, mount and change to your backup directory, from here we rsync the zimbra folder to /opt

This particular step takes forever + 1 day, don’t get too worried if it’s stuck there forever.
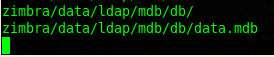
completed!

now we need to fix zimbra permissions, just in case

that step completed quickly, now we need to re-run the installer one more time to “upgrade” the databases

run the installer one more time with the -s option
accept the licence agreement if you agree
at this step, it would be a good idea to check the integrity to make sure your backup was good (unless you want to gamble with many users email)
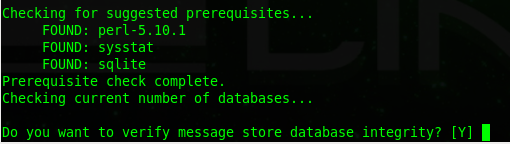
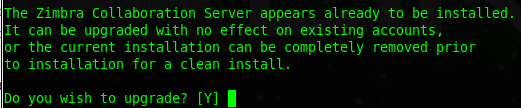
perfect, all is installed correctly, we must now upgrade (sound silly, but in order for it to work, that’s the process)
select the proper packages
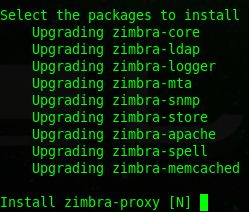
from here all will be upgraded
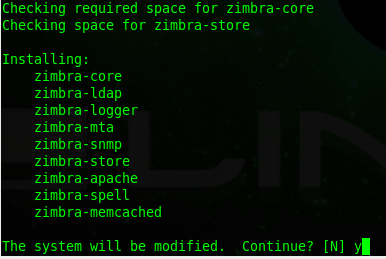
after a while you will see the following:

From here once all is completed, su to zimbra
zmcontrol start

at this point, you may want to shutdown your old Zimbra Server, Test Web URL, re-configure backups, verify mailflow, etc
Check these links if you are having trouble with inbound/outbound email:
http://wiki.zimbra.com/index.php?title=ZimbraMtaMyNetworks
http://wiki.zimbra.com/wiki/Incoming_Mail_Problems
That’s it!