
Mapping A Network Drive Windows
How do you map a network drive manually? If you are not using group policy, this should work. This has been tested on Windown 98, Windows 98 SE, Windows 2000, Windows XP, Vista, Windows 7, and Windows 8
This article assumes that you have the necessary permissions to the share in the first place.
If you are on windows 98/2000/xp go to start –> run
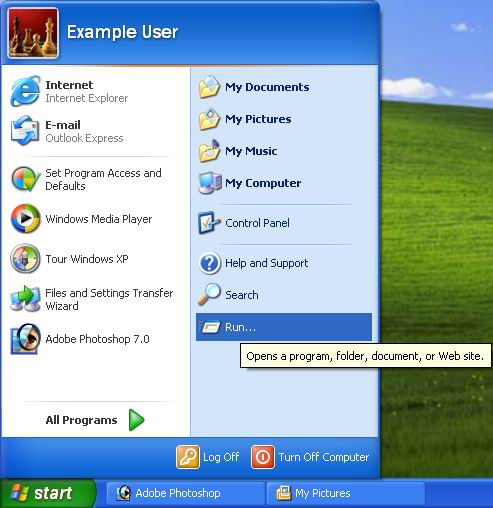
(if you are using Windows Vista, or Windows 7, use the search bar at the bottom)
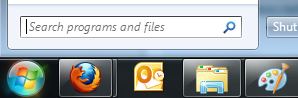
type in \ and the name of the server you are going to browse to, and select “ok”the
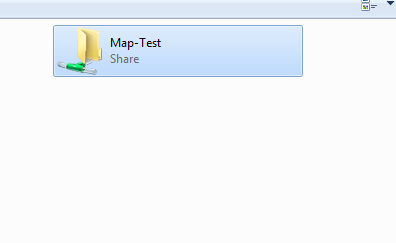
the server or computer that has the network share should appear, in this case, we are going to map a network drive to “Map-Test” go ahead and right-click on the
share and click “map network drive”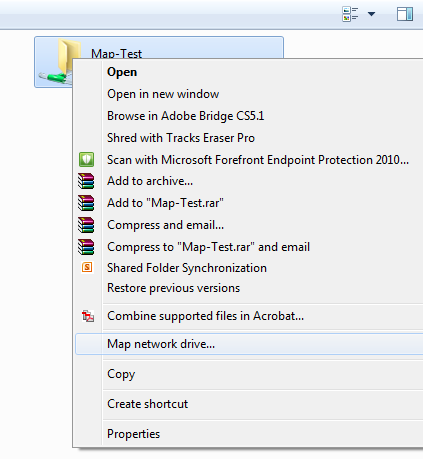
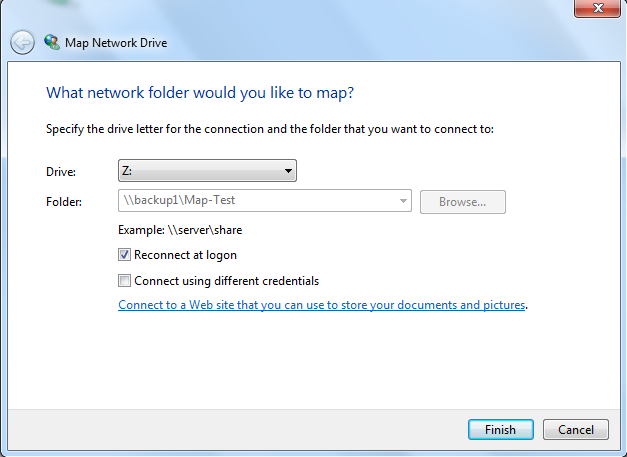
from there your permissions should automatically be configured (if you want to access the share as a different user, select “connect with different credentials”
from there select the drive letter you would like the share to be, and select “Finish”
from there browse to your “Computer, or My computer”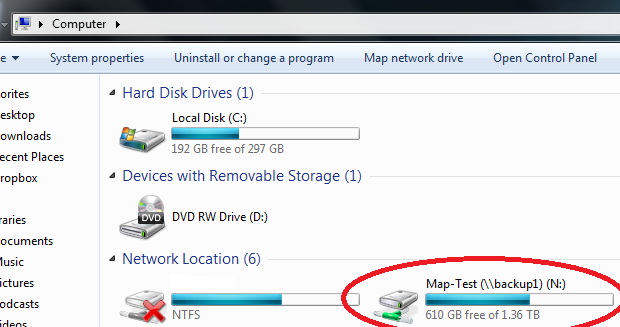
as you can see our network drive has been mapped, and we are good to go.
if you have further questions, feel free to contact us at zwiegnet.com/go
Related guides: script to map a share to windows | Map Shared Drive In Group Policy