
Install Apache on CentOS 6.4
Apache (the httpd package) is the standard web server on CentOS. This guide installs it from the CentOS base repository, starts it, makes it start at boot and checks that it answers.
Prerequisites
- A CentOS 6 server with working network access to the CentOS repositories.
- Root access.
- If the server has a firewall (CentOS 6 enables iptables by default and only allows SSH), you will need to open port 80.
Step 1: become root
login and SU to root

Step 2: install httpd
issue the command: yum install httpd
yum install httpdhit yes to download/install
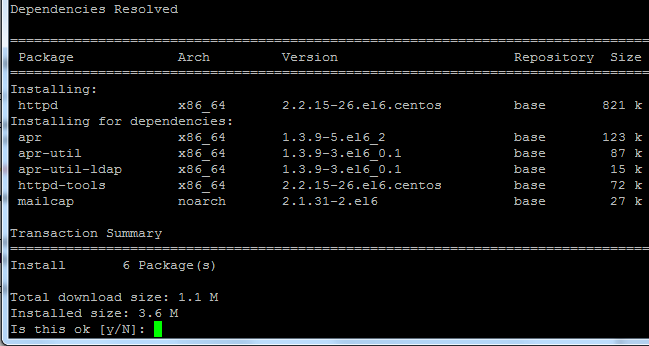
yum works out the dependencies (apr, apr-util, httpd-tools and mailcap) and asks for confirmation. Answer y.
setup PKI Key by using the letter y and enter
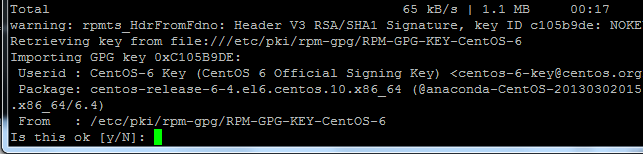
On a fresh install yum has not used the CentOS signing key yet, so it asks to import RPM-GPG-KEY-CentOS-6. Confirm the fingerprint belongs to CentOS 6 Official Signing Key and answer y; yum uses it to verify every package it installs.
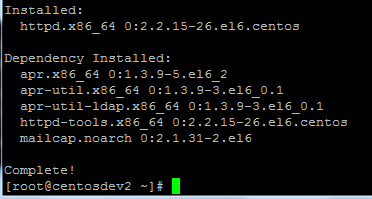
installed
Step 3: start the service
now we need to start the service
service httpd start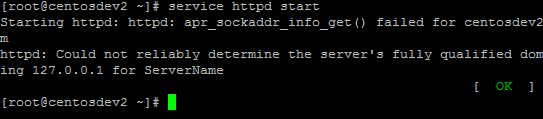
The warning Could not reliably determine the server’s fully qualified domain name is harmless; Apache still starts. To remove it, set a name in /etc/httpd/conf/httpd.conf, for example ServerName www.example.com:80, or make sure the server’s hostname resolves in /etc/hosts.
Step 4: start Apache at boot
now we need to set the service to start on startup/reboot
chkconfig httpd on
done!
Step 5: open port 80 and test
If the firewall is on, allow HTTP and save the rule so it survives a reboot:
iptables -I INPUT -p tcp --dport 80 -j ACCEPT
service iptables save
visit the url/ip for you server in a web browser to make sure apache is running
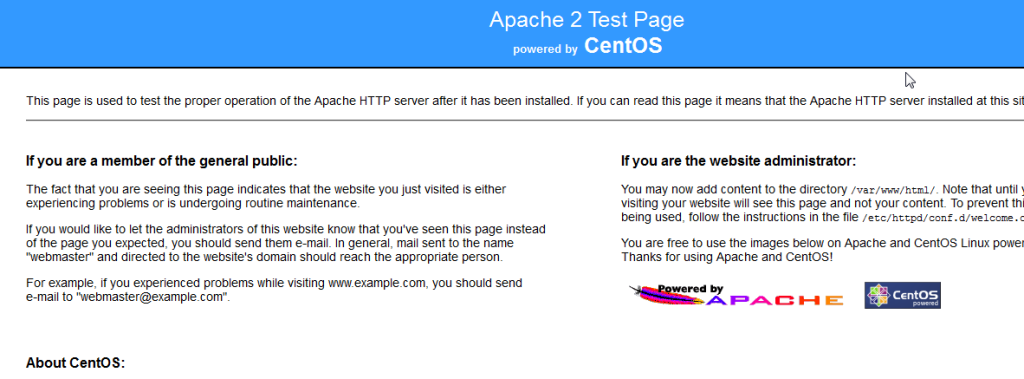
The Apache 2 Test Page means httpd is serving requests. It is shown until you put your own content in /var/www/html. From the server itself, curl -I http://localhost is a quick check that needs no browser.
Step 6: configure your sites
edit the main configuration file to your preference for one or many websites.

The main file is /etc/httpd/conf/httpd.conf; extra files in /etc/httpd/conf.d/ ending in .conf are loaded automatically, which is the tidy place for virtual hosts. After any change, check the syntax and reload:
apachectl configtest
service httpd reload
Before going live, consider hiding the version Apache reports (see Disable Apache Version).
That’s it!
Troubleshooting
- Browser times out: port 80 is blocked by iptables, or a cloud or network firewall in front of the server.
- Address already in use: something else is listening on port 80. Find it with
netstat -tlnp | grep :80. - 403 Forbidden on your own pages: file permissions, or SELinux labels on content copied from elsewhere.
restorecon -Rv /var/www/htmlfixes the labels. - Any other startup failure: read
/var/log/httpd/error_log.
On AlmaLinux, Rocky and RHEL 8, 9 and 10
These ship Apache 2.4 and use systemd and firewalld:
dnf install httpd
systemctl enable --now httpd
firewall-cmd --permanent --add-service=http --add-service=https
firewall-cmd --reload
The configuration paths are the same.
To get a professionally managed Linux Server visit www.zwiegnet.com/go to get started today
Related guides: Force Apache to Always Use HTTPS/SSL CentOS 6 | Setup Apache for Perl and CGI
1 Comment