
Configure NIS Server CentOS 6
Configure NIS Server CentOS 6
NIS or Network Information Service is an Older Directory Protocol that was used Before LDAP and Active Directory. The concept is simple, have a central server that can manage a set of user accounts for a wide array of machines.
–It’s important to understand that NIS should ONLY be used internally (or better yet, not at all) NIS is not horribly secure, anyone connected to NIS can take a copy of the password database and decrypt it, therefore only use NIS where you absolutely need to.
NIS is where “yellowpages” started, a global lookup for names
login as root
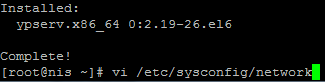
install the yellowpages server (NIS)

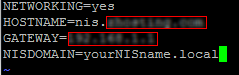
once installed, we need to edit network settings
append the below line NISDOMAIN (make up what you want)
now we need to edit the yp.conf

add the following line:

start the ypserv and yppasswdd services, and set them to start automatically
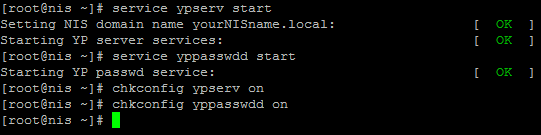
also do the following so slave replication works:

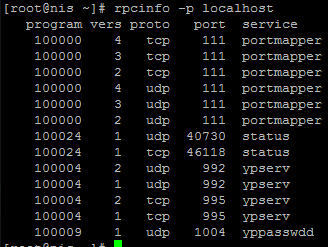
run RPCINFO to make sure the services are running
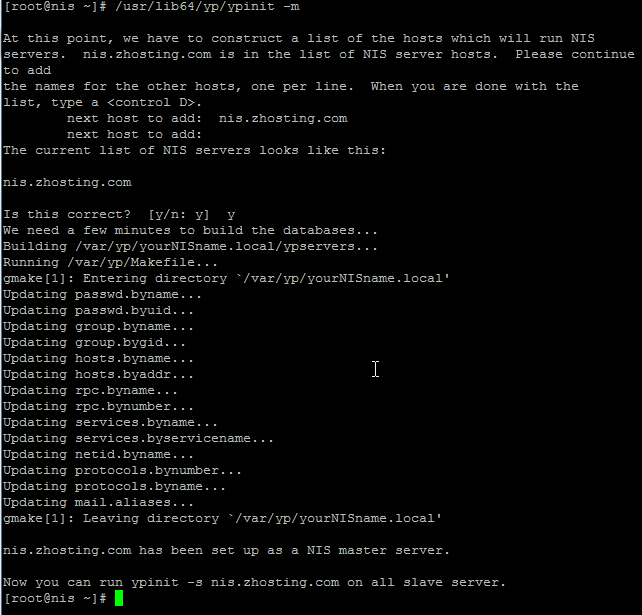
initialize the database with the following command:

here’s the full output
FYI – Here’s the Log Directory

now we just need to install ypbind

set the service to start on reboot, and then start the service

add a test user (or several at this point if you choose)
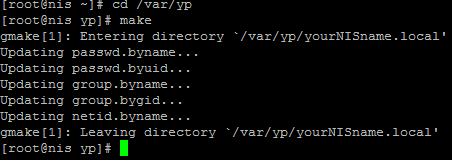
This last step: MAKE INTO A SCRIPT to run in Cron Every 1 Minute (this adds users to the NIS database, otherwise the users you created will not be accessible via NIS)
if you do the ypcat passwd this will show the users that are in the NIS database

That’s it! Your NIS Server is ready to go!
configure your client using this article:
http://blog.zwiegnet.com/configure-nis-client-centos-6/
configure your NIS Slave using this article:
http://blog.zwiegnet.com/linux-server/configure-nis-slave-centos-6/
To get a Hosted Linux Server visit www.zwiegnet.com/go to get started today!