
Openfire Standalone Installation
Openfire Standalone Installation
An Openfire Standalone installation on MySQL can be tricky the first time, but we will do our best to walk you through it.
Once you have your server installed, with the MySQL Application and the openfire installer package installed, let’s proceed to the setup and confirmation
go in your web browser and type “servername:9090” – where server name is type your server name/ip address
For the language selection go ahead and pick the language you are using.
For the Database Settings fill in the appropriate information
Here is where most people run into issues, make sure your settings in MySQL/SQL or whatever database you are using is correct. For this example we have “localhost” and “Openfire as the database name
the username/password is going to be the SQL user that has access to read/write to the database
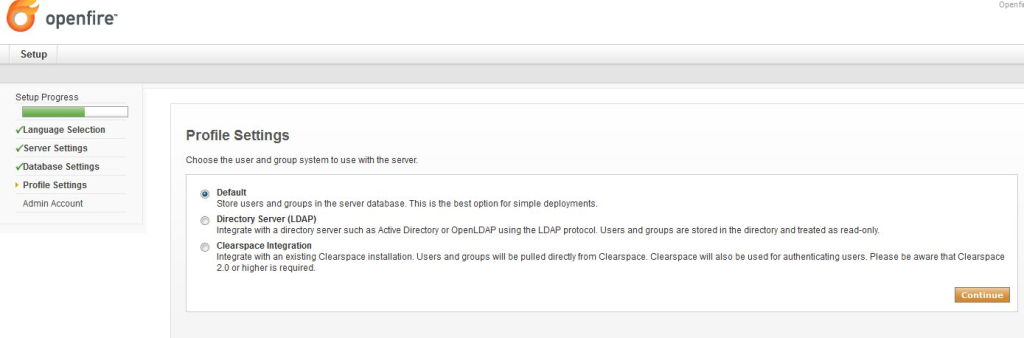
for this step we are going to use the default settings (note you can use LDAP if you want to integrate with Hosted Active Directory)
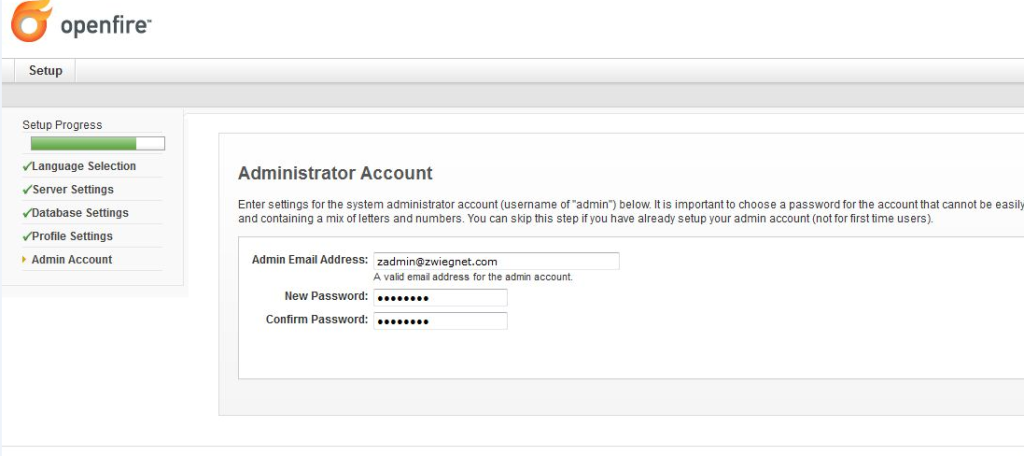
setup your admin account (note the user is “admin” not the email address)
from here setup has completed!
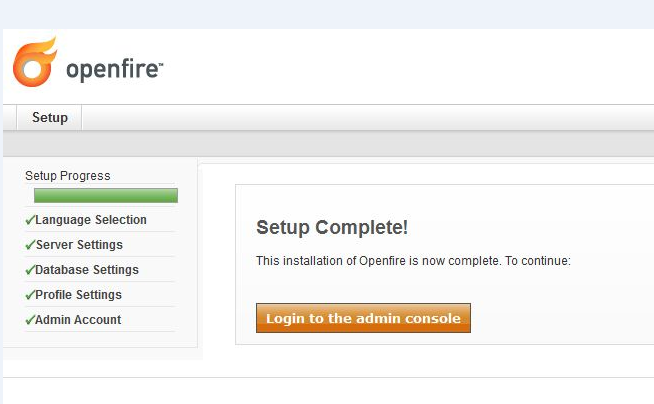
to login go back to the “servername:9090”
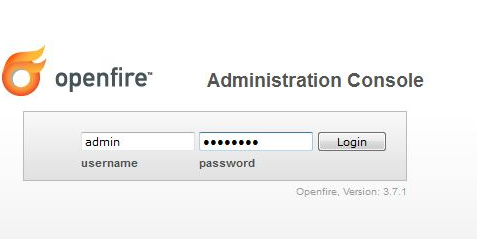
again here, login as admin
from here, if you made it to this screen, you are good to go!
to get a hosted Openfire Solution, visit www.zwiegnet.com/go to get started today!