
Configure DRBD CentOS 6
Configure DRBD CentOS 6
DRDB or Distributed Replicated Block Device is nice for HA situations of distributed block devices. This can be used for NAS, SAN, and a number of other use cases.
** NOTE THIS SETUP IS FOR ACTIVE/PASSIVE, NOT ACTIVE/ACTIVE” **
if you want to have Active/Active you need to use a filesystem such as GlusterFS that is capable of multi-writes.
For this blog, case we have 2 servers
nas5, nas6, they each have an 8GB /root partition, and 50GB for the drdb block-level replication. nas5 will be the primary
login, and su to root


from here we need to install the epel repo on each server

install the drdb packages on each server

once these packages has been installed, reboot each machine so the proper modules load into the live kernel
now create the drdb configuration file on nas5 (primary) /etc/drbd.d/home.res

customize the config for your environment, once customized, copy to your 2nd NAS
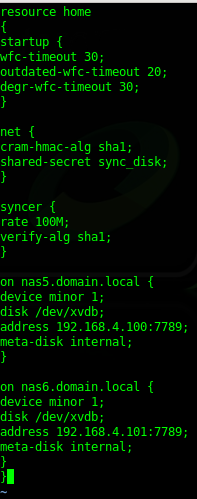
in this case /dev/xvdb is our DRDR disk (XenServer) and the address of the localhost is specified
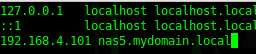
setup your /etc/hosts on each server, just in case DNS resolution fails
the next step is to make sure all your servers time are in sync with each other, we use a universal NTP server for all, so our configuration is ready to go.
on BOTH machines, we need to enable the disks to start replicating metadata
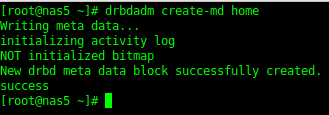
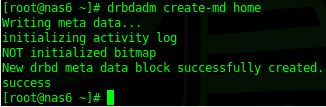
set the service to run on startup, as well as now (start both services at the same time, they are looking for each other)

configure a primary node:

now we need to wait a bit for the disks to syncronize…
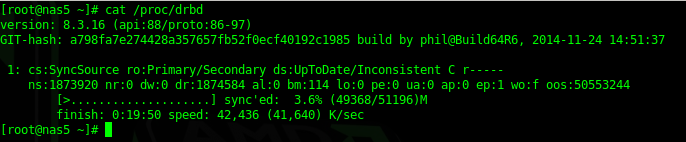
it takes a while… even for just a 50GB filesystem…..
here’s what it looks like when it’s all done:
now we need to create a filesystem on the block device
before we can do so, we need to make sure we are on the primary server, verify with the following commands:
Secondary:
Primary:

to set a new primary:

create filesystem:

once completed, mount the filesystem on both systems…

verify it’s the right size….
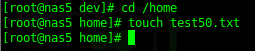
now the true test….. add a file to /home and see if it replicates to NAS6
verify replication is up to date

A Few Admin Commands:


disconnecting disk:

connecting disk:

Failover to secondary node:
The first thing we need to do is umount the active drdb1 disk ont he primary
now we need to demote the local disk as the primary

login to node 2 (nas6)

now we should be able to mount our drbd on node 2

in this case we had a “test50.txt” file created to verify block-level replication was working
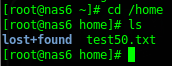
That’s it! you are a DRBD Master!
Hosted Linux Servers at www.zwiegnet.com/go
Related guides: Configure keepalived for ip failover CentOS 6 | Setup NFS Server on CentOS 6