
Install SMART on CentOS 6.4
SMART is especially useful on Physical Linux Boxes so you can have early detection of a bad hard drive, in theory before the failure occurs.
SMART (Self-Monitoring, Analysis and Reporting Technology) is built into almost every hard drive and SSD. The drive keeps counters such as reallocated sectors, pending sectors and power-on hours, and can run its own self-tests. On Linux the smartmontools package gives you smartctl to read those values and run tests, and the smartd daemon to watch drives in the background.
Prerequisites
- A physical server or workstation. Virtual disks in a VM usually do not expose SMART; check the drives from the hypervisor instead.
- Root access.
- Behind a hardware RAID controller you may need an extra option such as
-d megaraid,0to reach the physical disks.
Step 1: log in as root
login and su root

Step 2: find and install smartmontools
we want to do yum search smart
yum search smart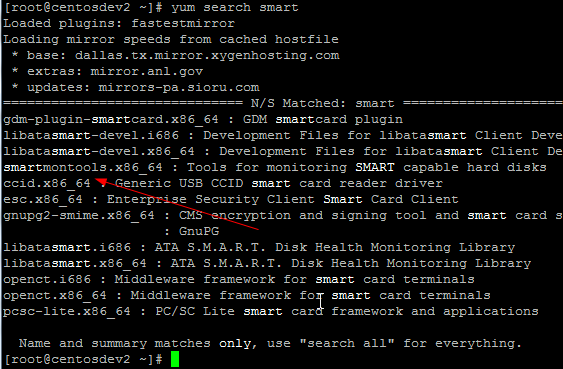
yum install smartmontools.x86_64
yum install smartmontools.x86_64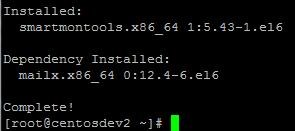
installed!
Step 3: start smartd and enable it at boot
start smart service and set it to run on startup
service smartd start
chkconfig smartd on
By default smartd scans all drives (the DEVICESCAN line in /etc/smartd.conf) and logs problems to syslog. The -m root option on that line emails warnings to root, which is why mailx was pulled in as a dependency.
Step 4: check that the drive supports SMART
you can do the following to check if you drive is compatible
cat /var/log/messages | tail
The screenshot shows the full report from:
smartctl -a /dev/sda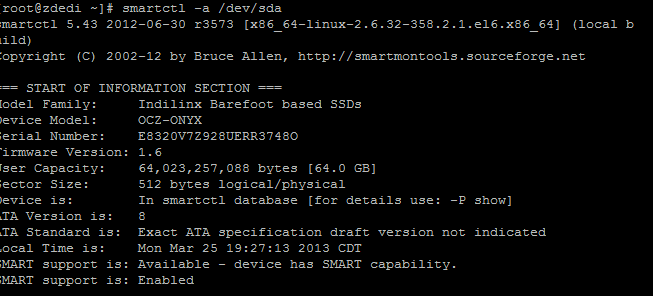
Look for SMART support is: Available and Enabled. If it is available but disabled, turn it on with smartctl -s on /dev/sda. For a quick pass/fail answer use smartctl -H /dev/sda.
Step 5: run a self-test
to run a SMART Test use one of the following commands:
mkdir -p /var/log/SMART
smartctl --test=short /dev/sda > /var/log/SMART/short.txt
smartctl --test=long /dev/sda > /var/log/SMART/Long.txt

The redirect only captures the “test has begun” message: the drive runs the test in the background, a short test in a couple of minutes and a long test in an hour or more, depending on its size. The output also tells you when to check back. Read the result afterwards with:
smartctl -l selftest /dev/sdaStep 6: schedule tests
you may want to run the tests as a CRON job
For example, a long test every Sunday at 2 AM in root’s crontab (crontab -e):
0 2 * * 0 /usr/sbin/smartctl --test=long /dev/sdasmartd can also schedule tests itself with the -s directive in /etc/smartd.conf, so the results are checked and reported automatically.
that’s it!
Troubleshooting
- “Device does not support SMART”: usually a VM, a USB enclosure that does not pass SMART through, or a RAID controller that needs the right
-dtype. - Reallocated or pending sector counts that keep rising, or a FAILED health result: back up the data and replace the drive.
Newer releases
On RHEL, AlmaLinux and Rocky 8, 9 and 10 the package name is the same: install it with dnf install smartmontools and enable the daemon with systemctl enable --now smartd. Current versions also read NVMe drives, for example smartctl -a /dev/nvme0.
To get a hosted CentOS Linux Server visit www.zwiegnet.com/go to get started today!
Related guides: Find Hard Drive IOPS CentOS | Check Disk I/O Oracle Linux 6
1 Comment